Isn’t it always thrilling to be able to showcase what you’ve been working on? If you’ve wanted to make these for a while. And with the release of STAR WARS, you had the final inspiration needed.
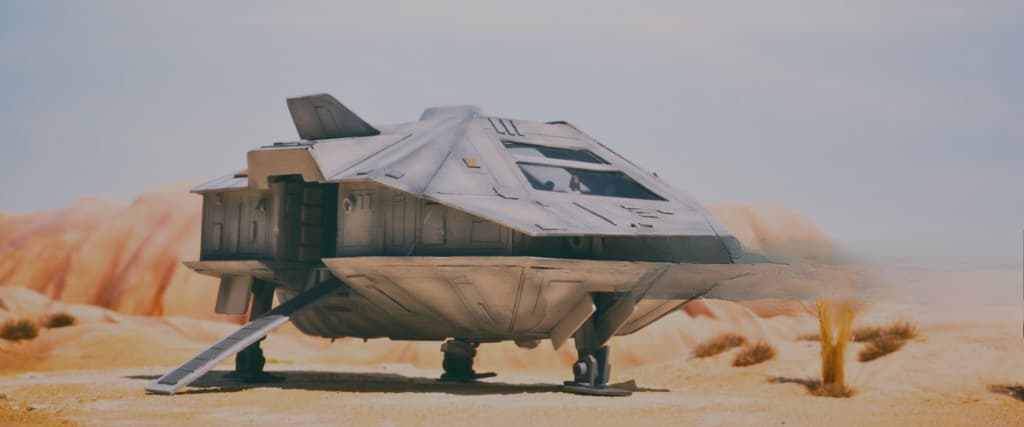
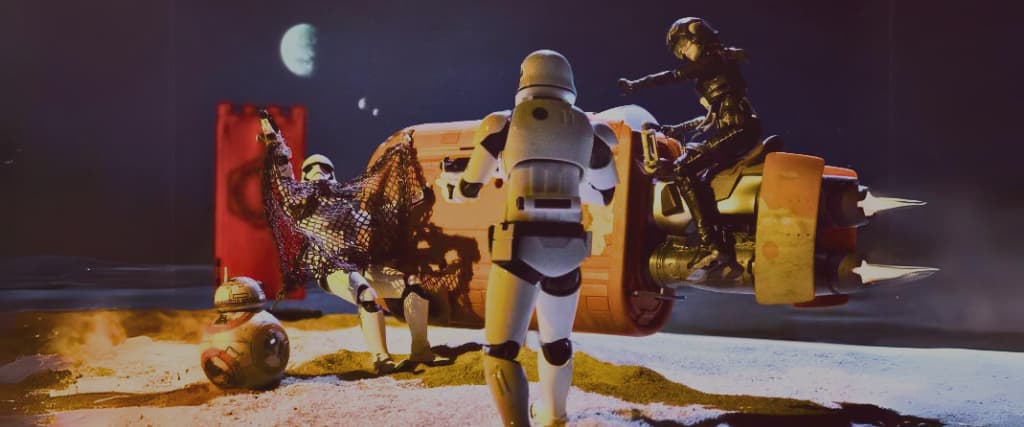
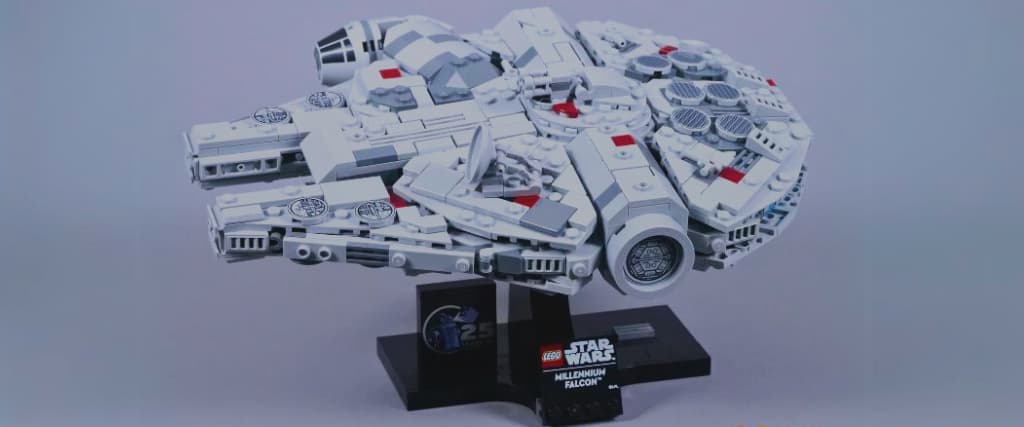
In addition to the Millennium Falcon, you’ll also learn how to design and build Rey’s Speeder to complete the trilogy. For many, the Millennium Falcon is a long-time favourite that returns in The Force Awakens. At the same time, Rey, a newcomer that most people will most probably like, rides in a spacecraft that’s both exciting and unique.
This post will take you through the process of making these, but feel free to use any materials you have on hand.
Start building the Millennium Falcon using a box (as the seat) and an old foam board you couldn’t use anywhere else. If you’re planning to paint your work in the end, it’s recommended to stick with corrugated boxes since the foam panel won’t hold up as well.
Use a craft knife and a pair of scissors to trim out half of the body of the Millennium Falcon from a piece of foam board. Then trace that shape onto three more foam core parts and cut the pieces out to allow you to make it bigger.
You will need to cut a hole in the top part for the “flight deck.”
Put all of the parts together with hot glue. Hot glue is convenient in many ways; first, it dries fast, sticks well to the cardboard, and is cheap. So glue each set together and put one set on top and one at the bottom of the box.
For stability, glue the cardboard sheets between the container’s top and bottom- there will be so much dangling over. Push down at the top to check whether more is required, then add as much as possible until you reach the desired amount.
To complete the sides, continue by gluing the cardboard to the exterior. You may flex the cardboard by first rolling it over an edge or up a sleeve.
When gluing it on, don’t stress about making sure it’s exactly the right size.
After painting it all grey (about two cans), you may ask other people to help you add more details with different acrylic paint on a tiny paintbrush (First, draw some circular shapes and trace a few bowls.). It’ll be much simpler to add minor accents to a kid-friendly theme since it’ll be more relaxing and fun!
The form of Rey’s Speeder will make things a little bit simpler. After cutting off the wings on the tip of a box, round it out by adding cardboard around the edge. Its speeder has a more extensive front.
To prevent the seat from collapsing, have somebody build a fast wooden structure for the interior of a more extended but thinner box that you will use as a seat to run for most of the middle section.
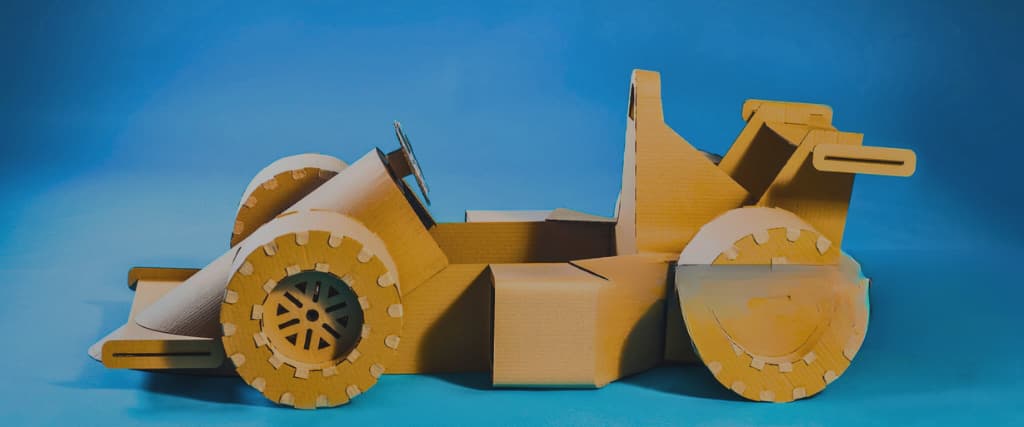
Kraft paper can be excellent for covering an old shoebox, especially if it’s already dark. For the back, you can paint some plastic coffee cup tops and glue them with hot glue after spray painting them.
With a grey acrylic in the middle, you may use an orange spray mixed with a bit of brown for the front.
Also, use grey and black acrylic paint for your details. Finally, a saddle was attached (another piece of card stock)
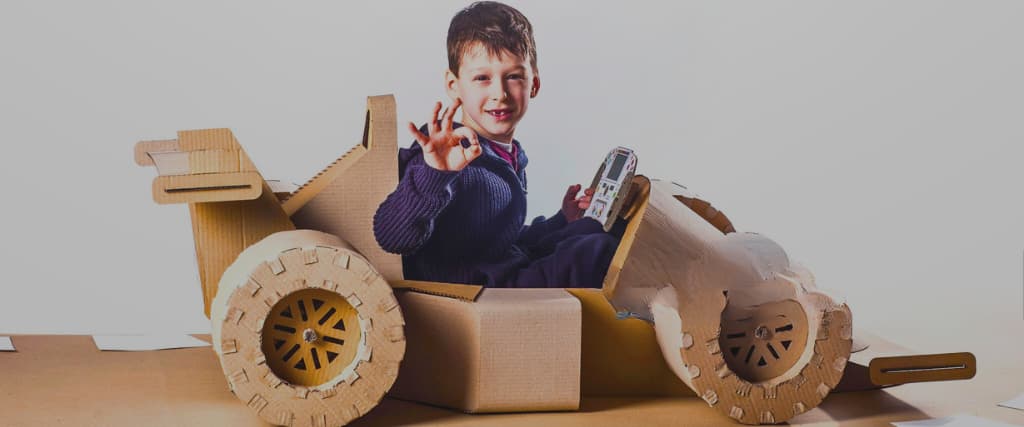
Without a doubt, it turned out perfect, and your kids will have fun playing on it!
They will have massive success in the end! Hopefully, you’ll soon learn how to make other things like cars for your kids to play with or watch a movie.
